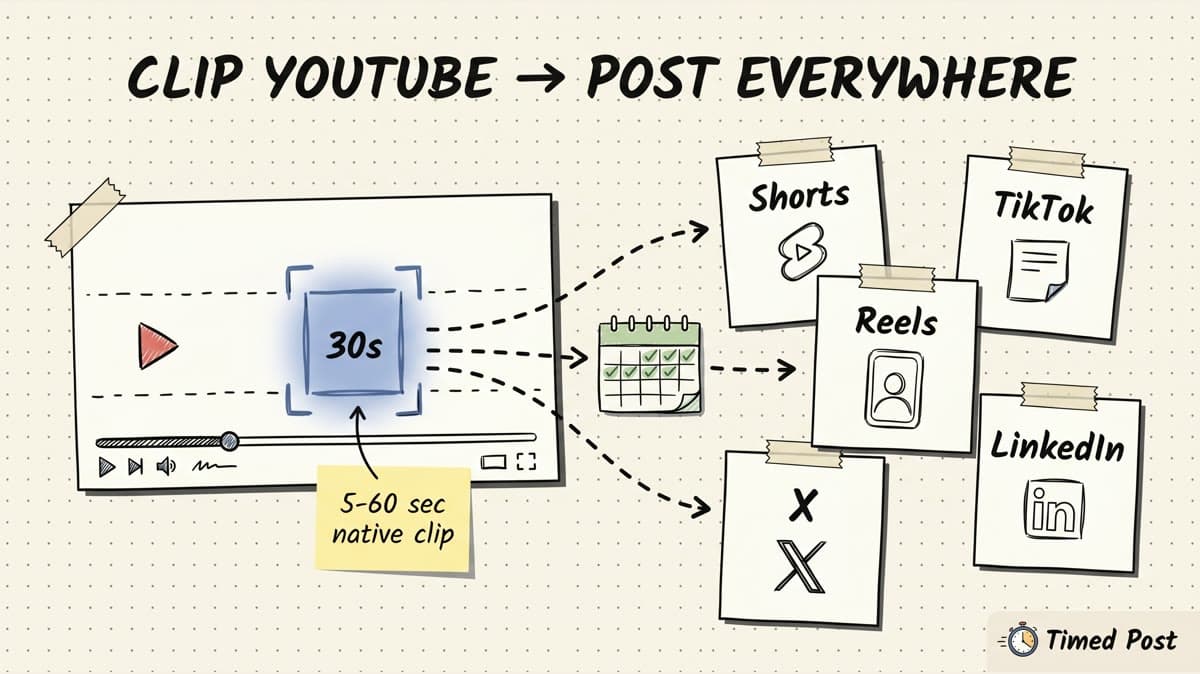
The best part of your YouTube video is usually not the intro.
It is the answer at minute 12. The customer quote you almost cut. The tiny tutorial step people keep asking about. The rant that explains the whole problem better than your polished hook.
Clipping is how you pull that moment out and give it a second life.
But there is one mistake that makes this workflow messy: treating every clip like the same thing.
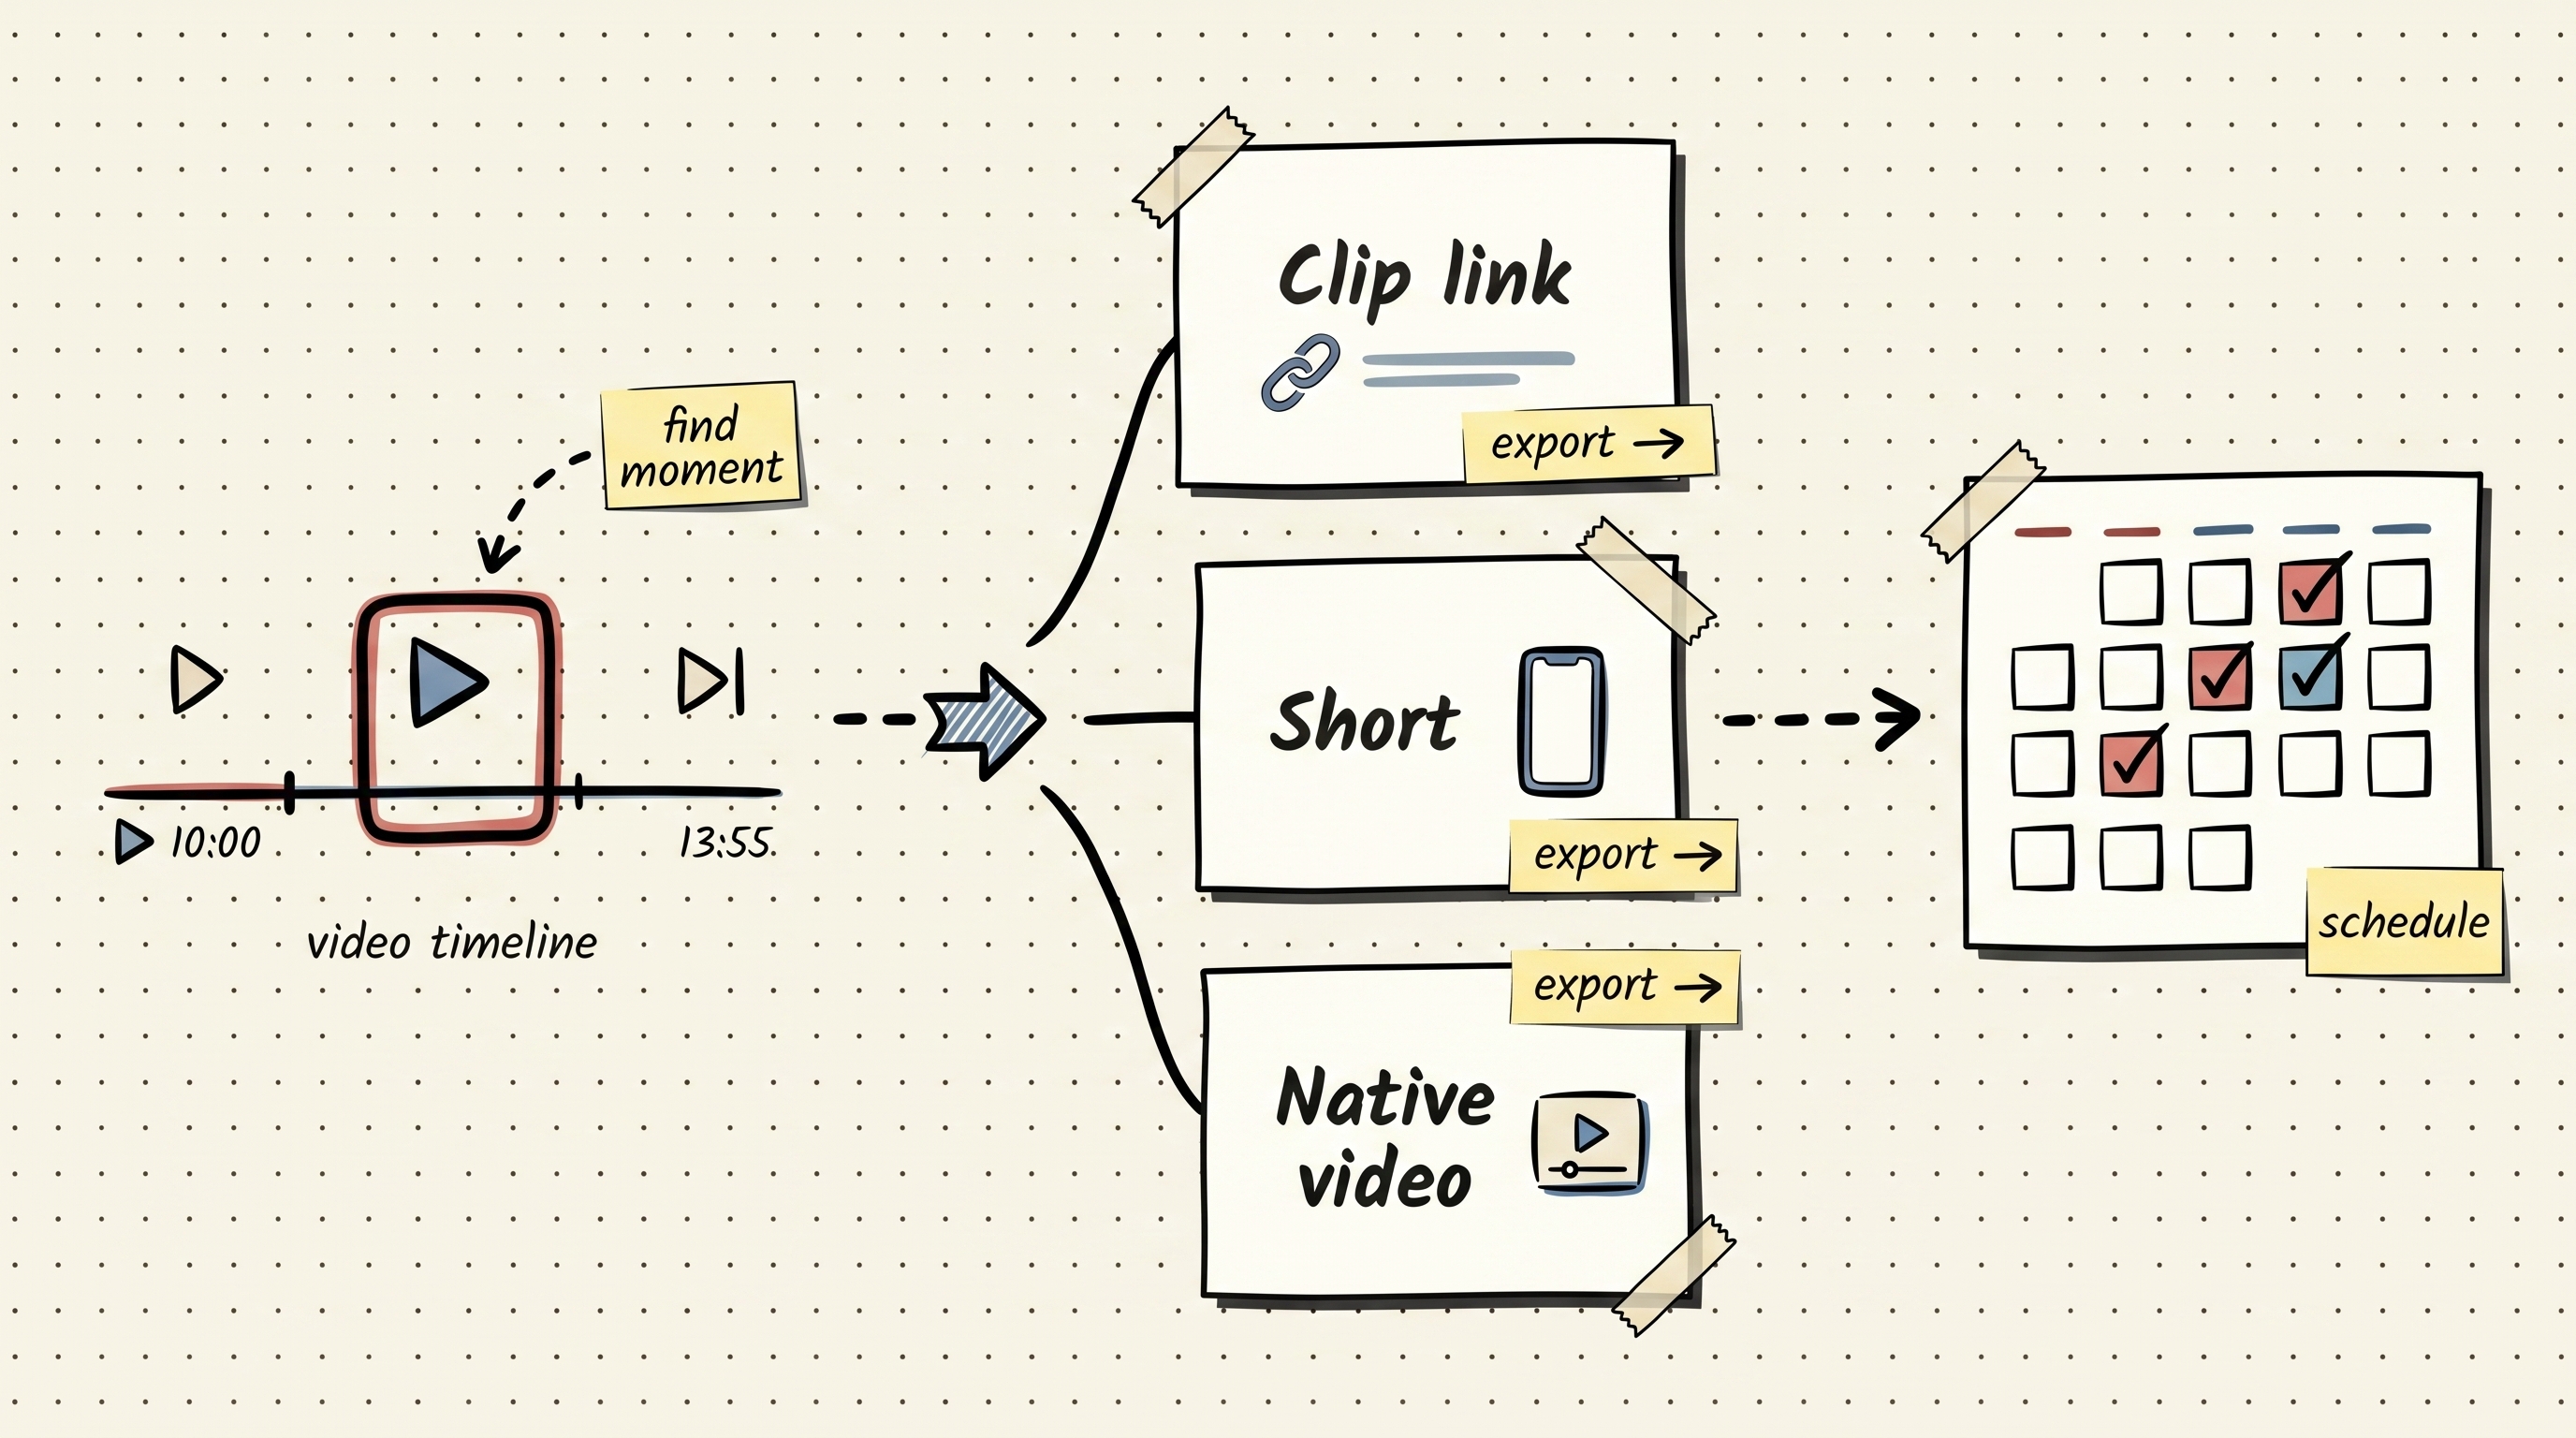
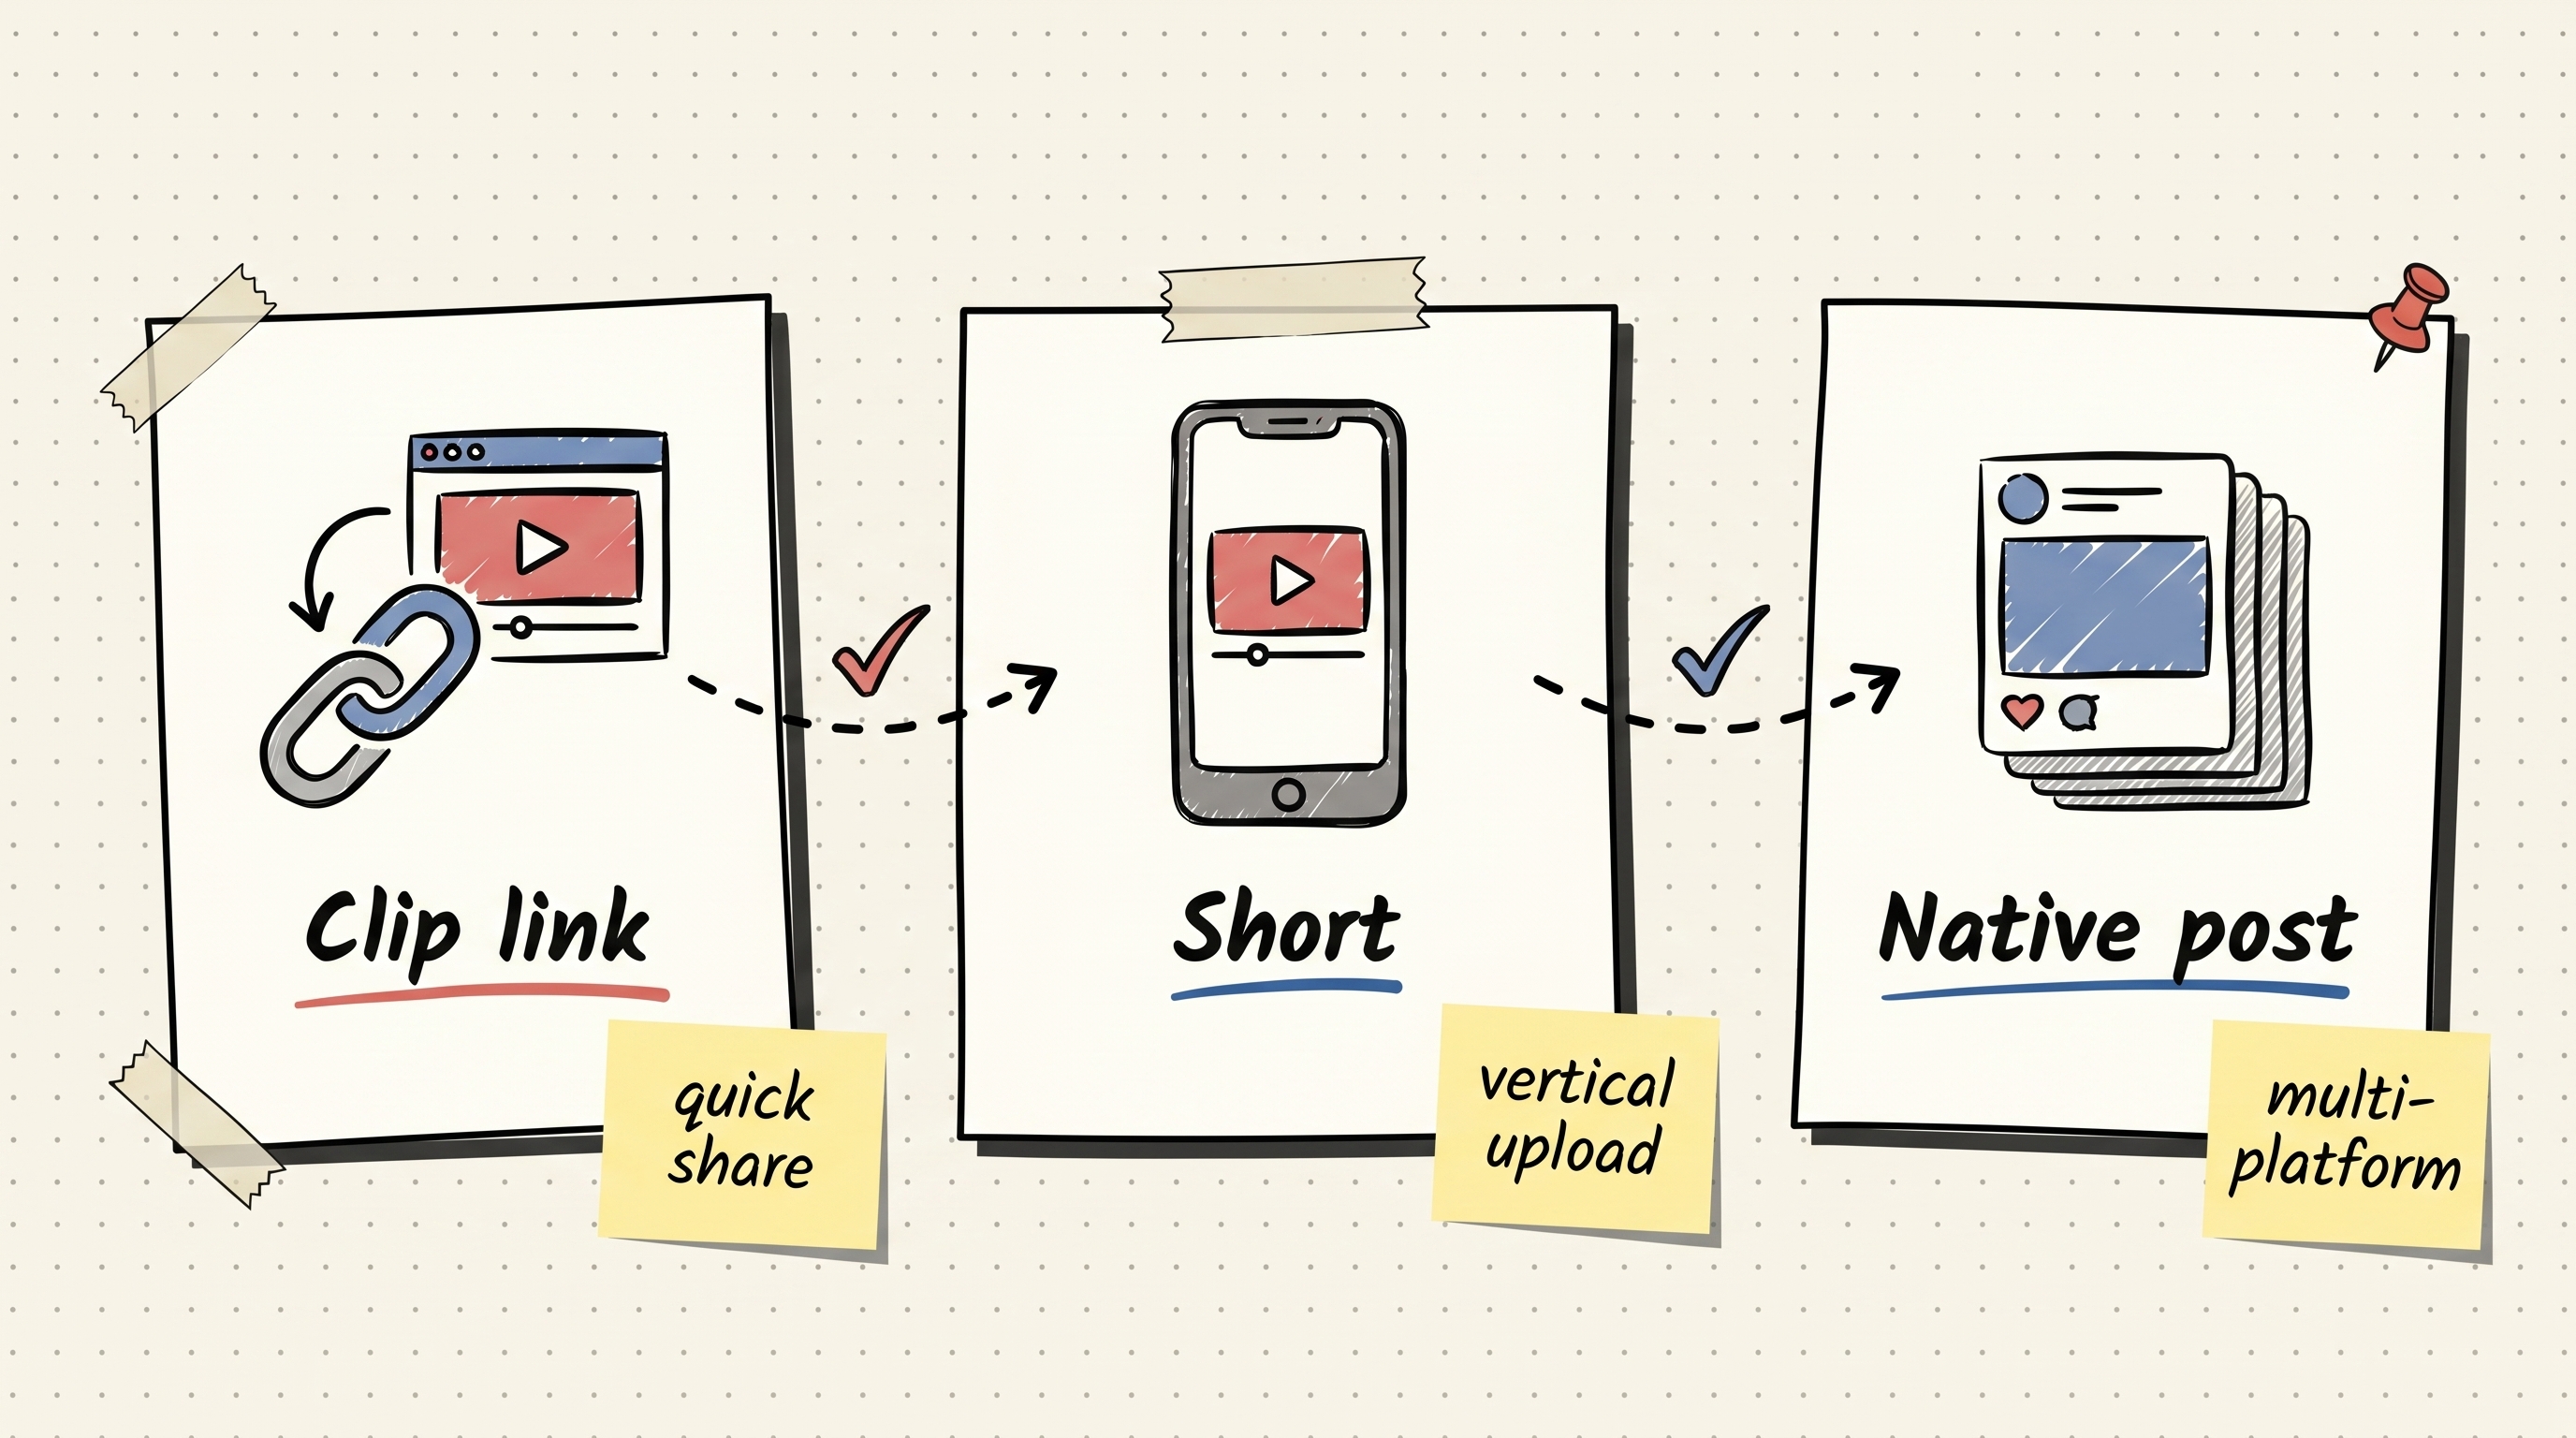
A YouTube Clip is a shareable link back to the original video. A YouTube Short is a separate short-form upload. A TikTok, Reel, X video, or LinkedIn video is another native post entirely. If you mix those up, you end up copying links into platforms that want native video, or exporting files when a simple YouTube link would have done the job.
This guide keeps it practical: how to make a native YouTube Clip, when to turn the same moment into a Short or vertical MP4, and how to schedule the finished posts so one good clip does not die in your downloads folder.
The quick answer
To clip a YouTube video, open the video on YouTube, click or tap Clip, select the moment with the slider, keep it between 5 and 60 seconds, add a short title, then share the generated Clip link.
That gives you a native YouTube Clip.
It does not give you a separate MP4 file for TikTok or Instagram Reels. If you want the clip to perform as native short-form content, use your original video file or editing project and export a vertical version.
Use this rule before you cut anything:
- Use a YouTube Clip when you want a shareable moment that points back to the full YouTube video.
- Use a YouTube Short when you want a separate short-form YouTube upload.
- Use an exported vertical MP4 when you want to post natively on TikTok, Instagram Reels, X, LinkedIn, Threads, Facebook, or Pinterest.
That decision saves more time than any clipping tool.
YouTube Clip vs Short vs reposted video
Before you make the clip, decide what you are actually trying to publish.
| Format | What it is | Best use | Main catch |
|---|---|---|---|
| Native YouTube Clip | A 5-60 second segment linked to the original YouTube video | Sharing one moment while sending people back to the full video | It is a link, not a downloadable social video |
| YouTube Short | A separate short-form YouTube upload | Reaching Shorts viewers with a vertical or square version | It needs its own title, edit, captioning, and upload flow |
| TikTok / Reel / X / LinkedIn video | A native video post outside YouTube | Getting reach inside each platform feed | The same file often needs different captioning, crop, hook, or timing |
YouTube Shorts are their own distribution channel now, not just a place to dump leftovers. In YouTube CEO Neal Mohan's 2026 letter, YouTube said Shorts average more than 200 billion daily views. That number does not mean every clip deserves to become a Short. It means your best moments should be edited with short-form behavior in mind: fast context, readable captions, clean crop, and one clear payoff.
A native YouTube Clip can still be useful. It is perfect when someone asks a question and your full video already answers it. You can send the exact moment instead of saying "watch from minute 18." But if the goal is reach on TikTok or Reels, the Clip link is only a marker. The real asset is the edited video file.
What a YouTube Clip actually is
A YouTube Clip is a short segment from an existing eligible YouTube video or live stream. The Clip stays connected to the original video. It does not create a new upload on your channel in the way a Short does.
YouTube's Clips help page says the selected segment can be a minimum of 5 seconds and a maximum of 60 seconds.
That makes Clips useful for moments like:
- one sharp answer from a long interview
- a funny line from a podcast
- a tutorial step people keep missing
- a founder take that explains the problem clearly
- a product demo moment that does not need the whole walkthrough
- a livestream highlight you want to share without asking people to scrub through the replay
The strength is context. If someone wants the full story, the original video is right there.
The weakness is distribution. Most social feeds do not reward outbound links the same way they reward native uploads. So the Clip is only one part of the workflow.
How to create a native YouTube Clip
The YouTube interface changes over time, but the workflow is still simple.
1. Open the video
Go to the YouTube video you want to clip. Use your own video, or a public video where Clip creation is enabled.
If you are clipping your own content for marketing, open the source file or editing project too. The YouTube Clip button is good for creating a shareable link. Your source file is what you need for clean Shorts, Reels, and TikToks.
2. Click or tap Clip
Look under the YouTube video actions for Clip. On mobile, YouTube's help docs describe sliding the action row under the Subscribe button, then tapping Clip.
If the Clip option is missing, do not panic. It usually means the video is not eligible, the channel disabled Clips, or the content falls into one of YouTube's restricted categories. The troubleshooting section below covers the common reasons.
3. Select the exact moment
Drag the slider to choose the section. Keep it between 5 and 60 seconds for a native Clip.
Do not grab the first minute just because it is easy. Most first minutes are greetings, setup, sponsor reads, or context. A strong clip starts closer to the tension.
Good openings sound like this:
- "the mistake I see every new creator make is..."
- "here is the part nobody tells you..."
- "we tested this for 30 days and the result was weird..."
- "if your video is not getting clicks, check this first..."
Weak openings sound like this:
- "hey guys, welcome back..."
- "before we get started..."
- "today we are going to talk about..."
- a sentence that only makes sense after five minutes of setup
A clip should feel like you entered the video at the right moment, not like someone accidentally pressed record halfway through a paragraph.
4. Give the Clip a useful title
The title should explain the moment, not repeat the full video title.
Bad title:
Podcast clip
Better title:
Why your first 30 seconds lose viewers
Better title for a SaaS or founder video:
The 5-tab posting workflow that wastes launch day
A useful title makes the Clip understandable when it is shared in a community, email, group chat, or X thread.
5. Share the Clip link
After creating the Clip, YouTube lets you copy the link or share it directly.
Use that link when the goal is to send people back to the YouTube video:
- answer a customer question with the exact demo moment
- share a podcast answer on X or LinkedIn
- add a short teaser in a newsletter
- reply in a community thread where the Clip solves the problem
- collect useful moments from a webinar or livestream
If your goal is TikTok, Reels, or Shorts, treat the Clip link as a note to yourself. Go back to the source file and export the moment properly.
Schedule your posts across every platform
Draft once, publish everywhere — automatically.
No credit card · Cancel anytime
Why the Clip button may be missing
If you do not see the Clip button, the feature is usually not broken. The video is probably not eligible.
YouTube says Clips cannot be made from some videos, including videos shorter than 2 minutes, videos made for kids, some live stream situations, live streams over 8 hours, premieres while they are still live, videos from news channels, and videos from channels that turned off Clip creation.
Use this quick check:
| Problem | Likely cause | What to do |
|---|---|---|
| No Clip button on one video | The video is not eligible | Check length, made-for-kids status, news category, live/premiere state, or channel settings |
| Clip button appears on other videos but not yours | Clip creation may be disabled for your content | Check YouTube Studio and content settings |
| A Clip disappeared | The original video changed | Check if the original was deleted, made private, age-restricted, or otherwise restricted |
| You want to upload the Clip to Reels/TikTok | A native Clip is not an MP4 export | Cut the moment from the original file and export a platform-ready video |
| A Short gets blocked | Rights or Content ID issue | YouTube says Shorts over one minute with active Content ID claims can be blocked globally |
This is why it helps to keep the original project file. A native YouTube Clip is convenient, but it is not your editing archive.
How to choose moments worth clipping
You do not need 20 clips from one video. You need the few moments that can stand alone.
Use the one-screen test
Imagine someone sees only this clip while scrolling on a phone.
Ask:
- do they understand the problem within the first two seconds?
- is there a clear payoff?
- can the moment survive without five minutes of context?
- would the clip make sense with captions only?
- would you send this exact moment to a friend, customer, or teammate?
If the answer is no, the moment may still belong in the full video. It is just not a clip.
Look for proof, not filler
The best clips usually contain one of these:
- a number: "we tested five posting times"
- a mistake: "we posted from the wrong client account"
- a before/after: "this took 40 minutes, now it takes 6"
- a strong take: "manual posting is not a strategy"
- a practical step: "open this setting before you publish"
- a customer quote or creator reaction
For a product or founder video, the best clip is rarely "we built a scheduler." The better clip is the painful workflow: opening YouTube Studio, TikTok, Instagram, LinkedIn, X, and Facebook separately, uploading the same file again, rewriting captions, checking previews, then realizing one platform got the wrong title.
That is the moment people recognize.
Cut before the energy dies
Do not include the wind-down.
A lot of clips become weak because the creator leaves in the last 10 seconds where they say "so yeah, that's basically it." Cut on the line that lands. If the viewer wants more, the full video is one click away.
How to turn a YouTube moment into Shorts, Reels, and TikToks
A native YouTube Clip is useful, but most platforms want native uploads. If the moment deserves reach outside YouTube, turn it into a proper video asset.
1. Start from the original file
Use the original recording, full export, or editing project. Do not try to build your short-form workflow from the Clip link.
The source file gives you control over:
- vertical crop
- captions
- title cards
- audio levels
- safe margins
- cover frame
- file quality
- platform-specific versions
This matters even more for horizontal videos. A lazy center crop can cut off faces, subtitles, screen recordings, product UI, or the thing you are pointing at.
For tutorials, try a split layout: face or headline at the top, screen recording below, captions in the safe middle area. For podcasts, keep the speaker visible and add a short on-screen title that explains the tension before the first sentence finishes.
2. Build a vertical version
For short-form distribution, start with a 9:16 edit unless you have a reason not to. If Instagram is part of your plan, check the current format details in the Timed Post guide to Instagram video length limits. If TikTok is a priority, use the TikTok scheduling guide to plan the upload and timing.
A simple export checklist:
- 9:16 vertical canvas
- readable captions on mobile
- hook in the first 1-2 seconds
- no important text under platform UI controls
- clean cover frame
- platform-specific caption saved with the file
- source link saved for the platforms where it makes sense
YouTube's upload docs say Shorts uploaded from a computer can be up to 3 minutes with a square or vertical aspect ratio. That does not mean every Short should be 3 minutes. For clipped moments, 20-45 seconds is often stronger because it forces one idea.
3. Write the caption for the platform
Do not paste the same caption everywhere.
Use the same core idea, but change the frame:
| Platform | Caption angle |
|---|---|
| YouTube Shorts | connect the moment back to the full video topic |
| TikTok | lead with the mistake, tension, or unexpected result |
| Instagram Reels | make the visual context obvious, because many viewers skim |
| X | write one sharp sentence and add the source link if useful |
| explain the work lesson, founder lesson, or business context |
This is where the time leak happens. The clip is edited, but the post is not ready. Five platforms means five captions, five previews, five publish checks, and five chances to get pulled into the feed.
If this is your current workflow, the broader multi-platform posting guide and the schedule posts to multiple platforms guide are useful next reads.
A practical rollout for one clipped YouTube moment
You do not need to post the same clip everywhere at the same minute.
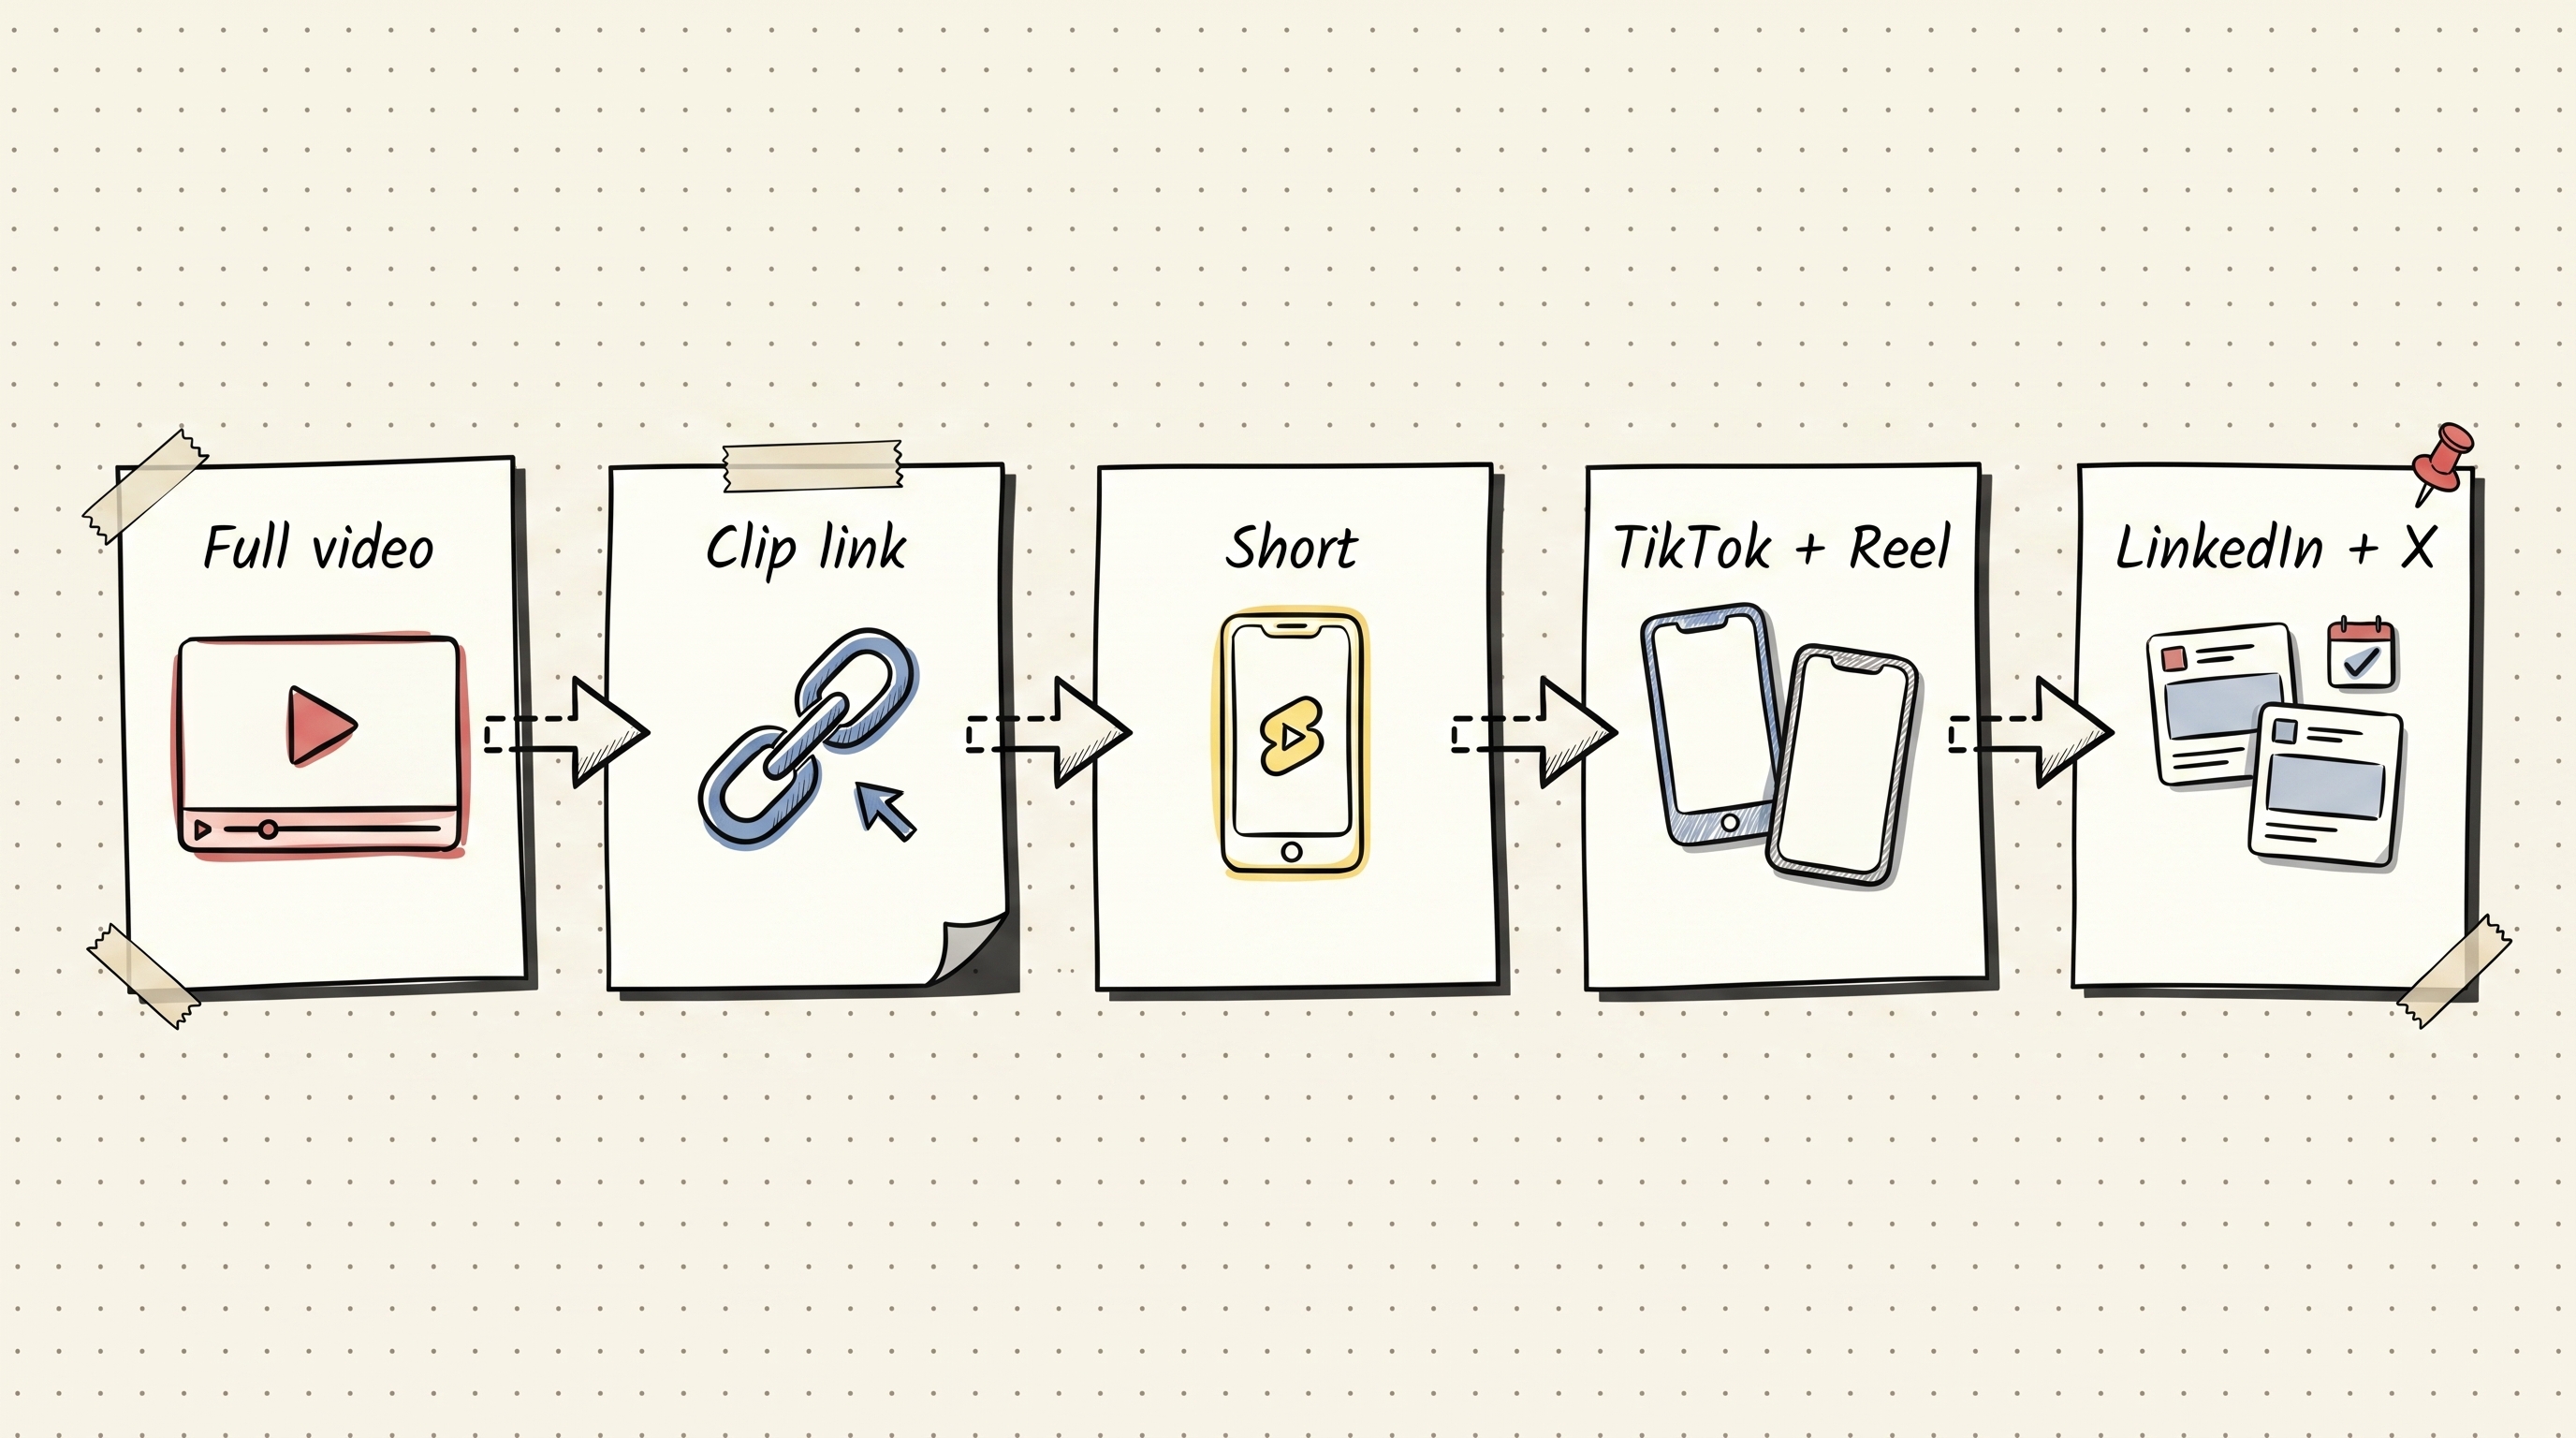
A cleaner sequence looks like this:
| Timing | Post |
|---|---|
| Day 0 | publish the full YouTube video |
| Day 1 | share a native YouTube Clip on X or LinkedIn with one sentence of context |
| Day 2 | publish the vertical edit as a YouTube Short |
| Day 3 | publish the TikTok version with the strongest hook caption |
| Day 4 | publish the Instagram Reel with a clean cover frame |
| Day 5-7 | reuse the best-performing angle on LinkedIn, Threads, or Facebook |
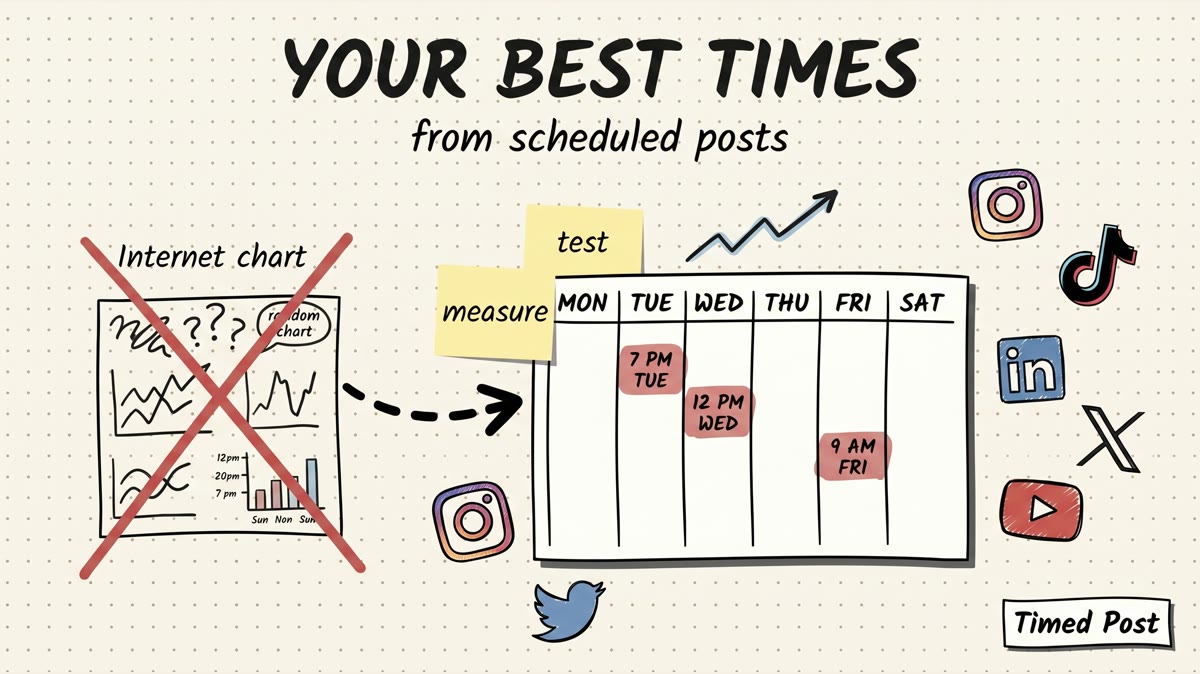
The exact timing depends on your audience. Start with your own performance data first. If you need a baseline, use the Timed Post guide to the best times to post on social media, then adjust after a few weeks.
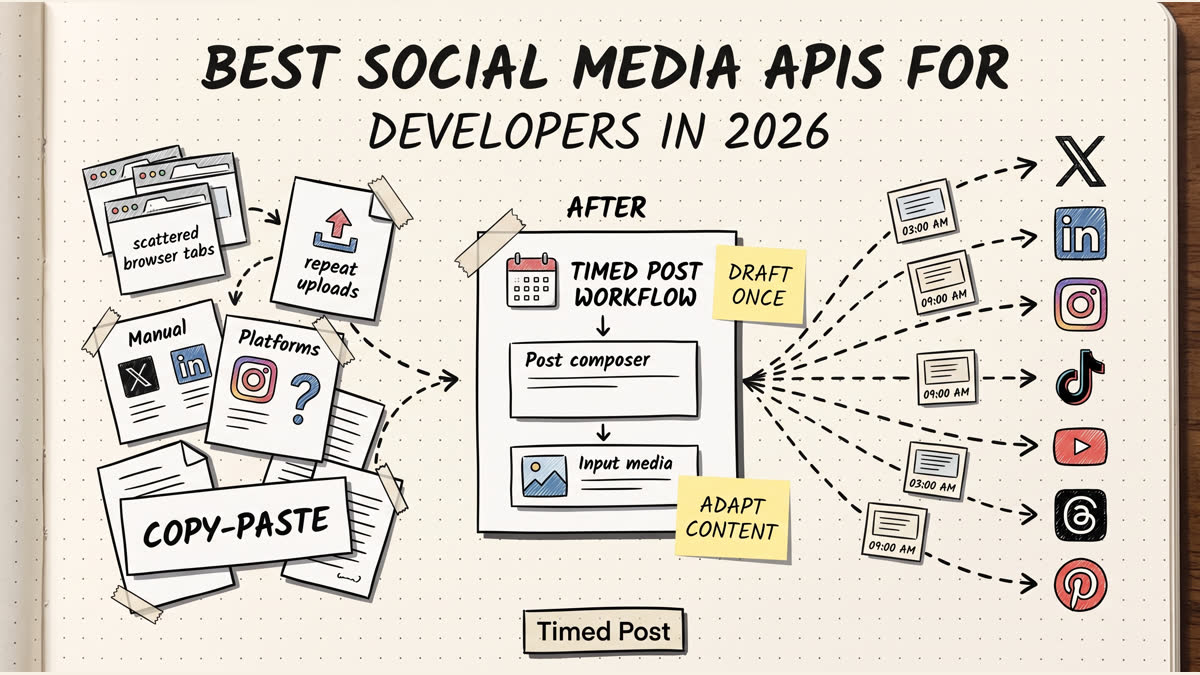
The point is not to build a complicated calendar. The point is to stop doing the same manual upload ritual every time you find a good moment.
Where Timed Post fits
Timed Post does not replace your video editor. You still choose the moment, crop it, caption it, and export the file.
Timed Post helps after the clip is ready.
A cleaner workflow looks like this:
- Find 3-5 clip candidates from the full YouTube video.
- Create native YouTube Clips for moments you want to share as links.
- Export the strongest moments as vertical MP4s.
- Upload the finished asset into Timed Post once.
- Write platform-specific captions for YouTube, TikTok, Instagram, X, LinkedIn, Threads, Facebook, or Pinterest.
- Schedule the batch on one calendar.
- Check which angle performed best and reuse it later.
That removes the boring part: opening every platform, uploading the same file again, pasting another caption, checking another preview, getting distracted by notifications, then forgetting which version went live.
If you manage more than one brand or client, this matters even more. The guide on managing multiple social media accounts covers the wider workflow, and the best multi-platform social media scheduler guide compares tool options if you are still choosing a system.
Common clipping mistakes
Mistake 1: treating a Clip like a downloadable video
A native YouTube Clip is a link. It is good for sharing a moment back to YouTube.
For TikTok, Reels, Shorts, and most social feeds, export a real video file from your source footage.
Mistake 2: clipping the setup instead of the payoff
The setup feels necessary because you remember the full video. A new viewer does not have that context.
Start closer to the line that creates tension.
Mistake 3: making captions too small
Short clips often get watched muted. If the clip depends on speech, add captions.
If the captions are not readable on a phone, they do not count.
Mistake 4: posting links everywhere and calling it repurposing
A Clip link can work on X, LinkedIn, email, or communities when the audience expects a link.
But TikTok, Reels, Shorts, and most feeds are built around native video. Upload the video, do not just paste the link.
Mistake 5: no follow-up system
One strong moment can become more than one post:
- a native YouTube Clip link
- a YouTube Short
- a TikTok
- an Instagram Reel
- an X post with a quote
- a LinkedIn lesson post
- a follow-up clip a week later
The social media workflows guide shows how to turn that into a repeatable weekly system instead of random bursts of posting.
Final checklist before you publish
Use this before the clip leaves your editor or YouTube Studio.
- The clip starts with tension, not intro fluff.
- The viewer can understand the moment without watching the full video first.
- The native YouTube Clip length is between 5 and 60 seconds.
- The vertical export uses a clean crop and readable captions.
- The title or caption explains the moment clearly.
- The full YouTube link is saved for platforms where it makes sense.
- Each platform has its own caption angle.
- The posts are scheduled instead of sitting in a folder.
- You have a simple way to compare which platform performed best.
If the clip is part of a wider YouTube growth workflow, pair this with the Timed Post guide on how to see your YouTube subscribers so you are not only posting clips, but also watching what changes on the channel.
The simple version
A YouTube Clip is for sharing a moment inside YouTube. A Short or Reel is a separate short-form video. A repurposing workflow is what stops the clip from becoming another forgotten file.
So the useful process is:
- find the moment,
- decide whether it should be a Clip link, Short, or native video,
- export the platform-ready version,
- write the captions,
- schedule the batch,
- check what worked.
If you are still opening five apps every time you clip one video, you are doing too much manual work. Draft the posts once in Timed Post, adapt the captions per platform, and schedule the full batch before you open the feeds.
Sources
Sources checked June 2026.
- YouTube Help: Create and manage Clips
- YouTube Help: Upload YouTube Shorts
- YouTube Help: Understand three-minute YouTube Shorts
- YouTube Blog: YouTube CEO Neal Mohan's 2026 Letter: The Future of YouTube
- YouTube Blog: From epic edits to quick clips: Transitioning your long-form content to YouTube Shorts
- YouTube Blog: YouTube Shorts introduces new creation tools